Takeaways
It’s Low Lunge, lifted up. Back knee and back heel lift, and your pelvis gets more room to stay neutral or tip into a backbend.
Your knee can pass your ankle. Find the front knee position that keeps the tripod of your front foot; that’s your neutral.
Scissor your legs. Scrub your feet toward each other, back hip forward and front hip back, to steady the pelvis.
Lift before you lean. Stretch up from your hip points to your fingertips before any backbend or twist.
A kinder Warrior I. With the back heel lifted, the back knee points straight down and doesn’t twist.
Crescent Pose at a glance
Sanskrit: Ashta Chandrasana (ashta = eight, chandra = moon, asana = pose)
Also called: High Lunge, Crescent Lunge, Runner’s Lunge
Pose type: standing lunge, often used in place of Warrior I
Stretches: the front of the back hip and the front of the back thigh
Works: the legs, the belly and the arms
Props that help: two blocks, a wall or a chair
Low Lunge, lifted up
Crescent Pose is basically Low Lunge (Anjaneyasana), but lifted up. Your front knee bends, your back leg reaches long behind you, and your back knee and back heel come off the floor, so you stand on the ball of your back foot.
Everything that applies to Low Lunge applies here too. What changes is the space. With your legs wide apart and no back knee pressing into the floor, there’s more room in your pelvis to tip it forward or back, whichever you’d like, and that decides what your spine can do. You can keep your spine neutral, or you can use that room for a backbend.
It’s such a common pose, and yet it doesn’t really have a Sanskrit name of its own. You’ll hear it called Anjaneyasana, but that name usually belongs to the lunge with the back knee on the floor. Ashta Chandrasana is the name we use, and plenty of people simply call it High Lunge.
Crescent Pose is Low Lunge with the back knee floated up.
How to come into Crescent Pose
There are a few ways in. Some of them are a little awkward, but they all come up in classes, so it’s worth knowing each one. Here’s the simplest, stepping forward:
Stand at the back of your mat with your hands on your hips.
Take a big, slow step forward with your left foot.
Bend your left knee to come into the lunge.
Keep your back knee and back heel lifted, so you stand on the ball of your right foot.
Reach your arms up and overhead.

Crescent Pose: the back knee and back heel stay lifted, and the torso lifts tall over the pelvis.
The other ways in:
Step back. From standing, take your hands to your hips for balance, shift your weight into your left foot and step your right foot way further back than you think you should. Then reach your arms up.
From Low Lunge. Press strongly into your front and back foot to float your back knee up off the mat.
From Downward-Facing Dog. Step through just as you would into Low Lunge, then reach your arms up instead of keeping them down, back knee and back heel lifted. Whether that step comes easily has a lot to do with your proportions; blocks under your hands help.
Move slowly whichever way you choose. To come out, step forward or back to stand in Mountain Pose, or lower your back knee into Low Lunge.
Setting up your Crescent Pose
Your front foot
Spread your front toes out really wide and press down through the tripod of your foot: the big toe mound, the little toe mound and the heel. The front foot is the base of the pose, and it also tells you where your front knee belongs.
Your front knee
Find a position of your knee that works best for you. If you can keep the tripod of your front foot with your knee where it is, with the arch still lifted, that’s your neutral. Shin and thigh bones differ from person to person, so a knee that looks like it’s drifting in or out can be exactly right for that body.
And yes, your front knee can come forward of your ankle. “Keep your knee over your ankle” is an old-school rule. Most knee injuries come from very fast, very hard forces, like a skier landing at speed with the feet fixed in the skis. Yoga doesn’t produce that kind of force. Your knee travels forward of your ankle every time you walk down a flight of stairs, and the tissues around the knee actually need some positive stress to stay strong.
Your back leg
Step your back foot further back than feels natural. Keep your back knee lifted and your back heel lifted, so the knee points straight down to the floor. Then wiggle your back foot out to the side a little, so your feet are about hip distance apart.
The lifted heel is what makes this Crescent Pose and not Warrior I. It also makes the base narrower, so balance is part of the pose. Hip distance between the feet helps a lot with that.
Scissor your legs
Now scrub your feet toward each other, as if you were trying to pull them together without moving them. This scissors your thighs in: your back hip draws forward and your front hip draws back. It doesn’t need to be a huge effort. A gentle squeeze is plenty.
Your two hips are moving in opposite directions in this pose. Scissoring steadies the pelvis, tends to bring both hips level and facing forward, and builds power in your legs. It matters most if you’re very flexible or if you’ve ever been pregnant, because the joints at the back of the pelvis (the SI joints) tend to have a bit of extra give in these asymmetrical poses.
Neutral spine or backbend
Because your pelvis has more room here than in Low Lunge, you get to choose. For a neutral spine, engage your core. If you can’t quite find that engagement, bend your back knee for a moment; it often switches the belly on.
For a backbend, lift your spine first, then tip back, and slide your tailbone toward your back heel to keep your low back long. Bending your back knee helps with that too, and you can straighten the leg again afterward. A class that’s building toward Wheel, Dancer or Camel can use this as a warm-up; in other classes, keep it neutral.
Lift your spine first, then lean back.
Lift up out of your pelvis
Stretch up from your hip points into your armpits, and from there out through your fingertips. Lift your lower belly up and lift your sternum up, then gently engage your core to hold that lift. As much as you press down into the floor, reach up through your chest and through your fingertips.
This is the part that makes every other version of the pose work. Before any twist or backbend, find as much space in your spine as you can.
Your arms and collarbones
Reach your arms overhead, hands shoulder distance apart or palms pressing together (that asks a little more strength of your arms and shoulders). Widen your collarbones apart to create space in your chest.
Let your shoulder blades lift as your arms lift. There’s no need to pull them down your back. When your arm bones go up, your shoulder blades are meant to go up with them.
Your head
Keep your head in neutral, ears in line with your arms, with the back of your head pressing gently back. Your gaze can be straight forward or forward and down.
What Crescent Pose works and stretches
Crescent Pose builds a lot of power in the legs. The front leg holds the bend, the back leg keeps the knee floating and the heel lifted, and the scissoring action pulls everything together. Hold it for a few breaths, or flow in and out of it a few times, and you’ll feel the heat build in your legs.
The stretch is at the front of the back hip and down the front of the back thigh. It’s a little less than in Warrior I, so if you love that deep hip flexor stretch in the back leg, you can find it in other poses. In the backbend versions, the front of the belly gets a stretch as well.
Your belly works the whole time to lift and support your low back, and your arms get a light workout from reaching up.
Crescent Pose or Warrior I?
Warrior I is shaped a lot like Crescent Pose. The one big difference is the back heel. In Crescent, the heel is lifted and you stand on the ball of your foot. In Warrior I, the back heel spins down and the toes point off to the side.
That small change makes a big difference for the back knee. With the heel lifted, your back leg points straight down with no real rotation. Spin the heel down and the back leg turns out. Add the common cue to square your hips to the front, and the pelvis turns the other way on top of it. If your hips don’t have the flexibility to come forward, that twist goes into the joint between the two: the knee. The knee is mainly a hinge. It allows a few degrees of rotation, but it doesn’t like torsion.
So if Warrior I ever tweaks your back knee, take Crescent Pose instead, for example in Surya Namaskar B. I rarely teach Warrior I myself. For me the risk outweighs the benefit, because Crescent gives the same or very similar actions without the chance of twisting the back knee. What it lacks is some of that inner-thigh and hip flexor opening in the back leg, which you can get elsewhere.
If Warrior I tweaks your back knee, take Crescent Pose instead.
Why your balance changes from day to day
Some days Crescent Pose feels rock solid and other days you wobble the whole time. Standing on the ball of your back foot in a long stance makes the base narrow, so balance is always part of this pose.
How you come into it plays a part. Stepping forward and stepping back land your feet differently, and for many people stepping forward is trickier: you land in an odd position, the spacing is off, and balance follows. Try both and see which one steadies you.
How you’re feeling plays a part too. How much did you sleep? How stressed are you? Are you clear-headed or foggy? Balance isn’t about rock-hard abs. It’s about how well the parts of your body talk to each other (proprioception), and that conversation gets a bit muddled when you’re tired or stressed.
Modifications, variations and alternatives
A modification keeps the pose and changes the support. A variation keeps the pose and adds something. An alternative is a different pose with a similar effect.
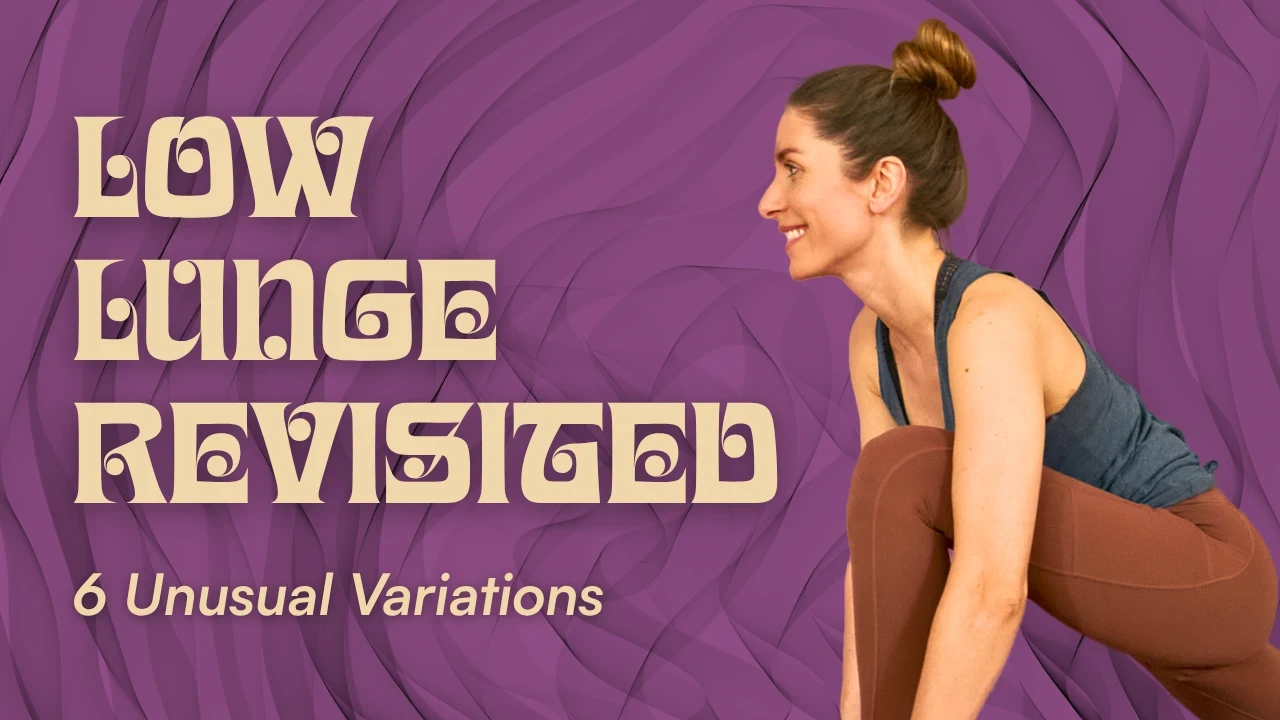
Most of the arm variations you can take in Low Lunge work here too, and there are more of them in these creative Low Lunge variations.
Common mistakes and how to fix them
A short stance
Looks like: your back foot lands close behind you, your front knee is cramped and your hips can’t settle between your legs.
Try: step your back foot way further back than you think you should, then find the front knee position that keeps the tripod of your front foot.
Leaning back instead of lifting
Looks like: you reach your arms up and drop straight back into your low back.
Try: lift, lift, lift before you lean. Stretch up from your hip points into your armpits, slide your tailbone toward your back heel, and keep the lift bigger than the lean.
Pulling your shoulders down
Looks like: your arms are up but you’re squeezing your shoulder blades down your back, and your neck and upper arms feel jammed.
Try: let your shoulder blades lift with your arms and widen your collarbones instead.
Hips twisting open
Looks like: your back hip swings out to the side and your pelvis turns toward the long edge of the mat.
Try: scrub your feet toward each other to scissor your thighs, back hip forward and front hip back.
Your balance isn’t there
Looks like: you wobble the whole time, or keep stepping out of the pose.
Try: walk your back foot out to hip distance, take your hands to your hips or rest one hand on a wall or a chair, or lower your back knee into Low Lunge. Some days the pose just doesn’t feel steady, and that’s okay.
Who should be careful
Tweaky SI joints or hypermobility. Twisting and backbending can bring some instability into the joints at the back of the pelvis. If that’s you, you might want to skip the twist and the reverse. In any twist or backbend, create as much length in your spine as you can first, and lift more than you lean back.
Unsteady on your feet. Standing on the ball of the back foot in a long stance is a balance challenge, and for older students a fall can have serious consequences. Practice next to a wall or the back of a chair and rest one hand on it.
When to use Crescent Pose in your practice
In Surya Namaskar B (in place of Warrior I).
Flowing with Low Lunge (lower the back knee, float it up again).
On the way to Warrior III (lean forward and keep going).
Before backbends and the splits (it opens the front of the hips and thighs).
Related poses
Low Lunge (the same pose with the back knee down)
Warrior I (the back heel down instead of lifted)
Warrior III (shift forward from Crescent)
Revolved High Lunge (the twisting version)