The archetypal yogic arm balance
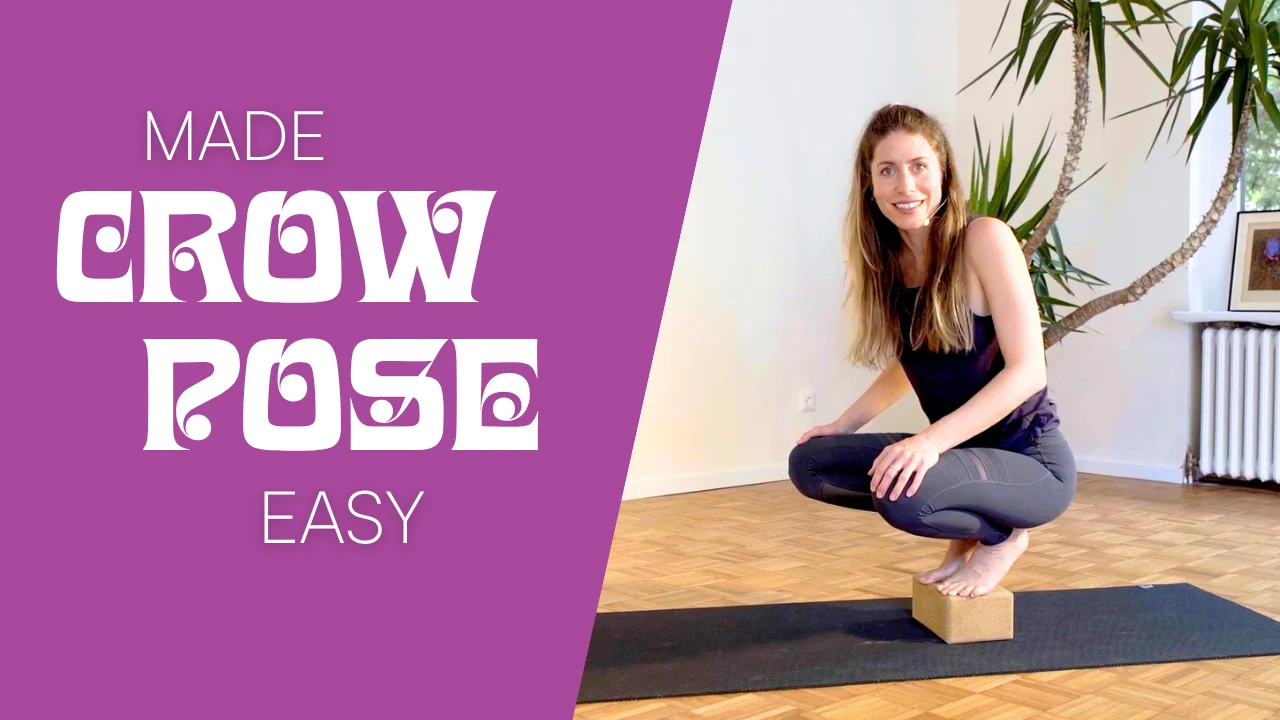
Crow Pose is the archetypal yogic arm balance, and for many people it's the very first one they ever land. But it's also a pose that many practitioners get stuck on. I remember watching people float up in class and thinking "There is just no way I'm ever going to lift the entire weight of my body onto my arms like that." It worked in the end, but only after I had learned a few important tips and tricks I want to share with you in this tutorial.
One naming note first. Most people think Crow Pose is Bakasana. Actually Bakasana is Crane Pose, with straight arms and the knees tucked high into the triceps. Crow Pose is Kakasana, with bent Chaturanga arms and the knees lower and wider on the outer upper arms. Crow is the easier of the two and the one this lesson is about. I still call it Bakasana in public classes, because that's the name everybody knows it by. (Also, kaka means poo poo in a bunch of languages, which doesn't help.)
1. Your fingertips are the brakes
As your weight travels forward into the palms, then the knuckles, then the fingertips, you may get the feeling that everything is going forward with a lot of momentum and no way to stop it. That's correct. Without something to counteract the forward momentum, you are going to land on your face.
That's why we use our fingertips as brakes. Grip into the mat until the tips of your fingers turn lighter in color. Press hard into them and you travel backward, don't press at all and you travel forward, and that's the whole mechanism.
Try your brakes in Tabletop position before you approach Crow Pose: hands under the shoulders, index fingers pointing forward. Shift your weight forward and back without changing your spine at all, nice and slow, and notice how far forward you can come once you know the fingertips will push you back. If I could give a student only one cue in this pose, it would be hasta bandha, the active grip of the hand into the floor.
2. Give yourself somewhere to go
If your hands are too close to your feet you can't really go anywhere in Crow Pose. That's why it's important to walk your hands forward until you have at least 1 foot between your toes and the heels of your hands before you lean in.
3. Hand placement
The standard cue is hands under the shoulders, which is a good general cue that doesn't work for everybody. What matters is your carrying angle, aka. the angle between your upper arm bone and your forearm. If yours is large and you put your hands directly under your shoulders, you're pulling your shoulder joints into internal rotation and the pose gets much harder than it needs to be. So place your hands under your shoulders or wider, index fingers pointing forward, fingers spinning out to the sides a little. If going wider suddenly gives you a shot at lifting a foot, that's not cheating, that's your bone structure making a difference in your practice.
4. Squeeze in, press out, round like a black hole
Adductors: the muscles along the inside of the legs that pull them in toward the midline of the body.
Now that your hands and feet are set up, it's time to take the next step. Wrap your inner knees around your upper outer arms and squeeze them in like crazy, and at the same time press your arms outward into your legs. Two directions at once. I struggled with Crow for years (literally years!) until one of my teachers taught me this. The more you hug into the center line, the more you can lift and float. And practically speaking, the squeeze is what stops your knees sliding down your triceps like an elevator.
While you're doing that, pull the belly button up and in like it's a black hole sucking your whole body into itself, and round your upper back the way you would in Cat Pose. The shoulder blades spread apart, the back of your heart lifts. That spreading is the serratus anterior, and it's what stabilizes your shoulders while you're standing on your hands. It's the opposite of what we do in Chaturanga, where we draw the tips of the shoulder blades down the back.
5. Think forward, not up
Another important and counterintuitive cue for Crow Pose is this: don't think about lifting. Instead, focus on shifting your weight forward, forward, forward into the fingertips, and let your feet come off the floor as a consequence of that movement rather than as a goal. Upward momentum is what makes Crane Pose work, with the knees high and the arms straight. Crow is a forward pose.
6. Find your gaze
Finding a single point of focus is super helpful in all arm balances. Crow Pose is no exception. Pick a spot on the floor in front of you and keep it in focus. Down and forward is the drishti here. Don't look up, and don't look out into space.
When it doesn't work
There's no single reason people fall out of Crow Pose. There could be a million, and the useful skill, for you and for your students, is being able to name where the stopping point actually is. Not "I keep falling," but "my wrist won't bend that far" or "my knees slide off." Once you have that answer, there's usually something to do about it.
Your knees slide down your arms. Squeeze in and press out harder, and go wider. Think of your Crow as a UFO rather than a skyscraper: knees wide, everything pancaked out, no thought of lifting at all. Some of this is bone structure. Shorter shin bones put your knees lower to the ground in the squat, so you'll need deeper hip flexion and a stronger round in your back to make the connection stick. Low and wide near the elbow is also simply the easier version, with more surface area in contact and less work for your core. High into the armpit is the advanced one.
You're sweaty and everything slides. Wipe down before you go up. (My partner Viktor does a full body towel-down before every arm balance.) You can place a towel over the knees for grip instead of slip. And if it's the skin on your arms rolling around, push your hands straight down so the skin rolls down and locks in place first, the same way you would for a forearm stand.
Bruises on the backs of your arms. In summer you can spot the beginner yogis around town because they're the ones with bruises on their triceps. These go away when your core turns on and you stop dumping your weight into your arms.
Your wrists hurt. Crow asks for more than 90 degrees of extension at the wrist for most people, and not everyone has that. Fold the front edge of your mat over and rest the heels of your hands on the roll so the fingers slope down, or use wedge blocks.
Your shoulders hurt. With a rotator cuff issue or any shoulder injury, Crow Pose may not be your pose, and that's a legitimate answer rather than a failure. Crane Pose, with the straight arms, actually puts less stress on the front of the shoulder.
It's not any of the above, it's fear. Then a block under the forehead is your friend, because it gives you an end point you know you can't fall past. I've written about this at more length in why your anxiety, not weak arms, blocks your arm balances.
If you're the one teaching it
Cue hasta bandha first, the hand-to-foot distance second, and forward-instead-of-up third. Offer the block under the feet (one of my trainees once called it a booster seat … perfect analogy), the block under the forehead, the towel, and one foot at a time as real options rather than consolation prizes.
And, super important, remember that you don't need to be able to do Crow Pose to teach Crow Pose. If you only teach the poses you personally do well, you're only teaching your own practice, and your students miss out on everything outside it. Instead of demoing the pose yourself, use a student with good proportions to demo for you, or cue precisely enough that nobody needs to look up from their mat at all.